
Home Pantry Organization – Maximizing The Space
Once upon a time, I thought my pantry was not terrible. But then I had kids. And then I had snacks EVERYWHERE. And extra food that I thought I would never eat – but then my kids grew and they ate EVERYTHING. And over time, the pantry became just a heaping mess. An unorganized giant catch all like a closet for all things snacks, canned goods, drinks, foods, bags, paper towels. If you can name it – it ended up in the pantry. And no matter how much I tried to organize or minimize, it just wasn’t happening. Choas continued with every hand or item that went into it.
Recently. it became apparent that I needed to organize the beast. It got to a point that it was too disorganized to find anything. And now, after spending many hours in front of it, I am finally happy with how it turned out. And as I’m the only chef in the house, really, I’m the only one that needs to know where it all is or be “ok” with its layout. And as kids get older or as my husband takes on more cooking, they should be able to step in and find what they need (as long as they read- right?).
With all that said – I’ve laid out my pantry makeover in detail here. From what I spent to how I did it – you’ll find my secret sauce. And while it may not work for you exactly as I have here, maybe it will give you some ideas to start your own pantry revamp. And if you do take on the task, please God, I hope it doesn’t take you three weeks like mine did because again, I have kids and they are into EVERYTHING and are EVERWHERE. And while competing with them and their schedules and needs, I also had to compete with the rest of the world buying organizational tools as everyone rides the “stay at home” wave of 2020.
The Before:
Dark and dreary and not even walkable.

The After:
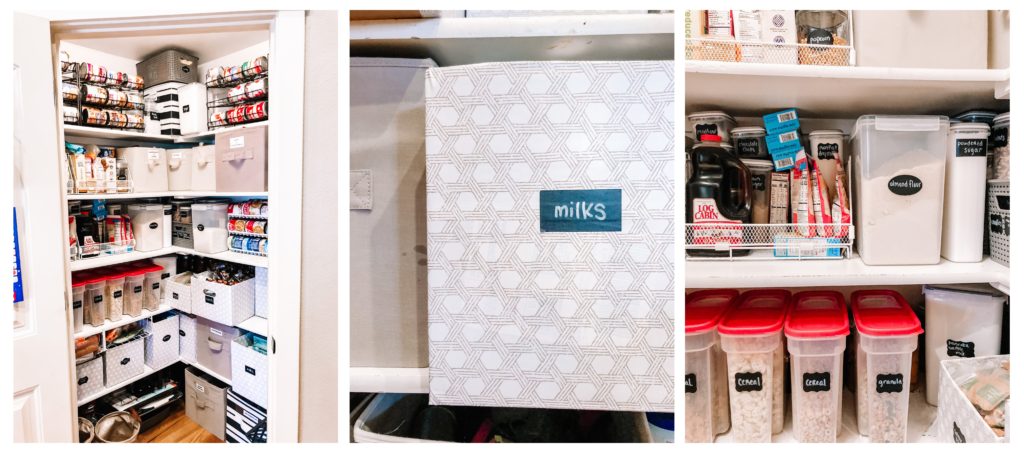
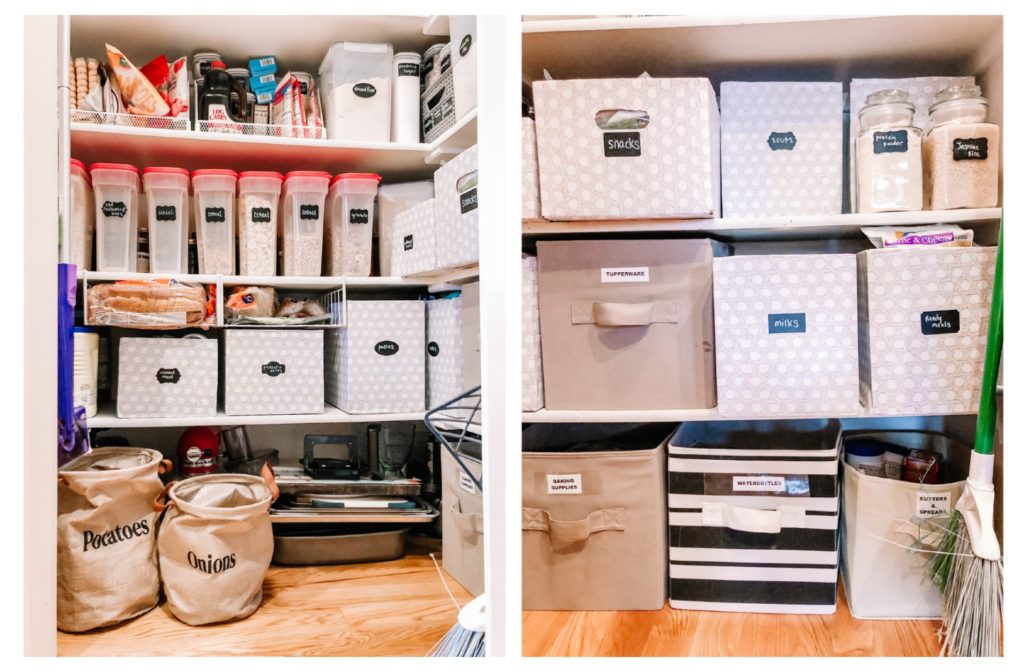
Bright, organized and able to walk in!
While the pantry is still jam packed (I will never run out of food). it is much more organized. I’ve fit 3 months worth of food in here; yet, the things we use most often are readily available.
One of the best things I did was repurposed a few other bins I had in the house. In the larger canvas totes, I’ve stored easy things to find like Tupperware or water bottles (things that don’t stay in the kitchen cabinets well), baking supplies or “extras” like the next bottle of Ranch or the next bottle of oil I’ll use.
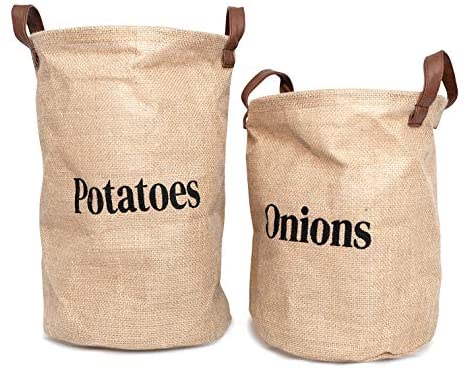
Below are my favorite purchase for the pantry. These modern farmhouse burlap sacks from Amazon for potatoes and onions caught my eyes months ago and I love them. Before moving my onions and potatoes to the pantry, I kept them on the buffet in a bowl. When I moved them to the pantry, I wanted to keep them in a cooler, darker place for longer storage and that’s when these caught my attention.
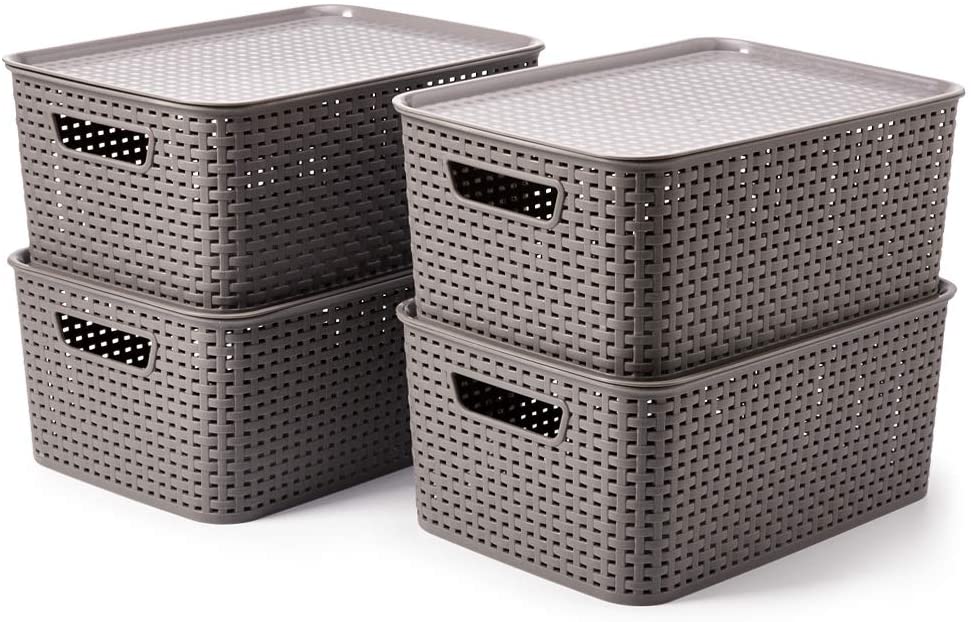
These grey containers from EZO Ware on Amazon I used mostly for baking supplies, jello, candies, cookie cutters or other things that are too small but need to stay with other like things. They stack incredibly well and are super sturdy and I will be buying them for other projects around the house.
For my large clear containers for such like flour, sugar, rice, and pancake mix, I bought the Extra Large Tall Food Storage Containers from Chef’s Path on Amazon.

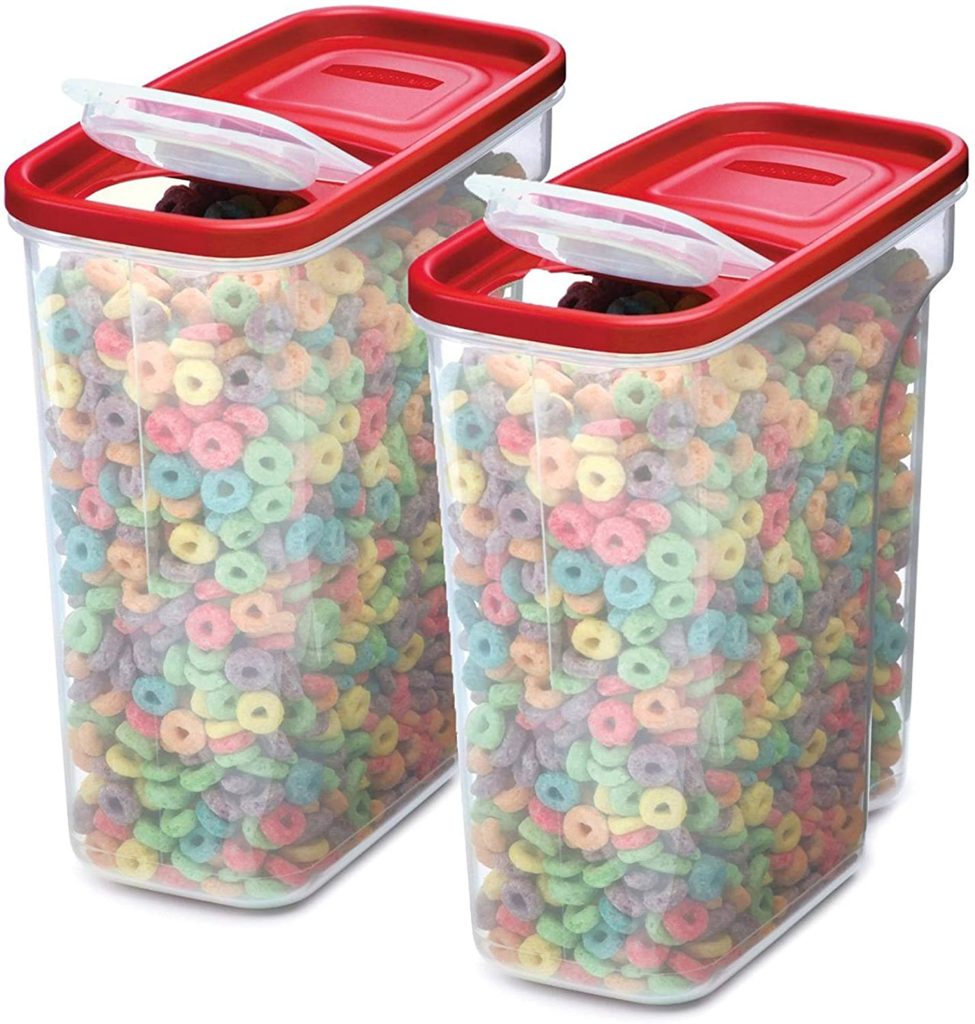
I also used these incredible Rubbermaid Cereal Keepers for cereals, granolas, oatmeal’s and instant potatoes. They fit family size boxes of cereal perfectly and the best part is my kids haven’t ripped open a cereal box or spilled cereal on the floor in weeks now!
Another option for cereal containers are these Chef’s Path Extra Large Containers. I’ve recommended these also over the years as these are slightly bigger than the Rubbermaid ones above holding around 26 cups.

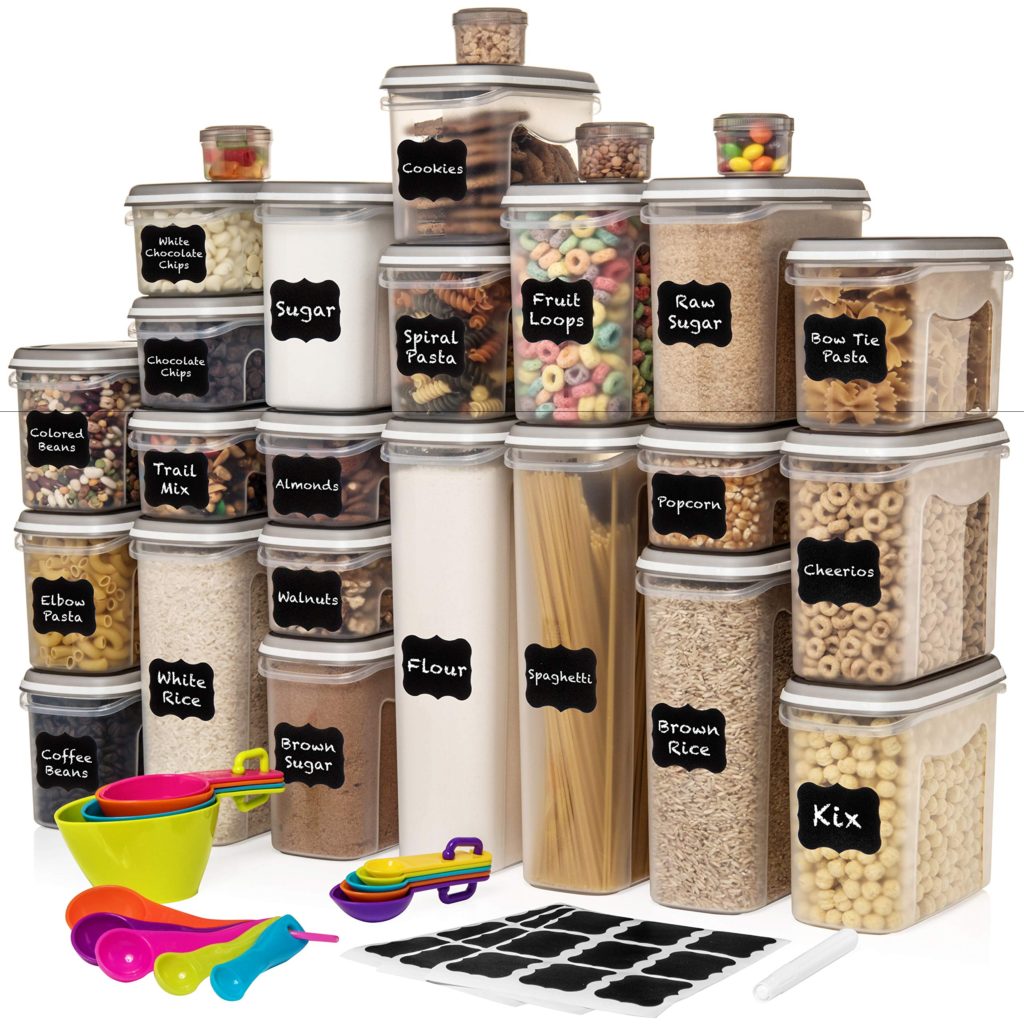
And lastly for my clear containers, I used the largest set of food storage containers I could find online. These 52 piece Shazo Airtight Dry Food Storage Containers from Amazon packaged up nicely all my loose end sugars, bagged foods, nuts and so much more. It also comes in a smaller 40 piece size set if you don’t want the large one like I used.
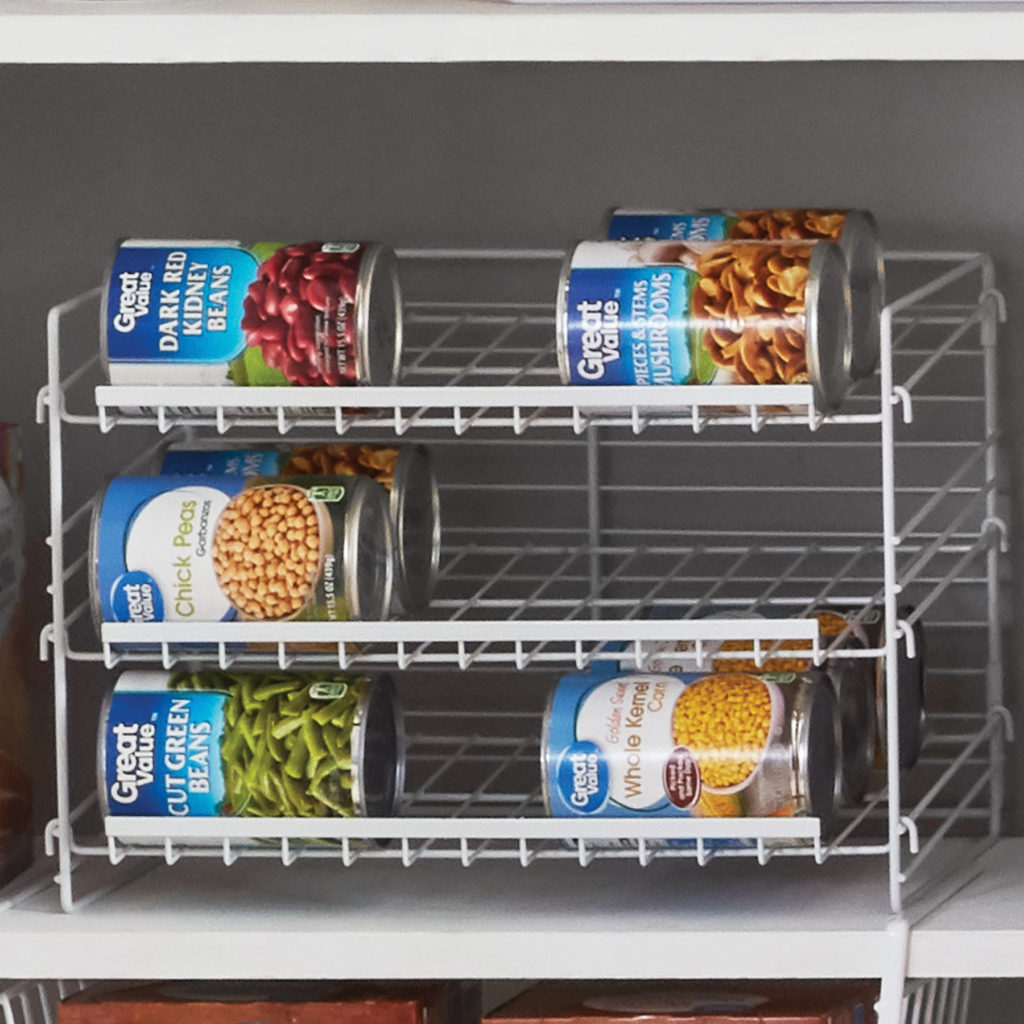
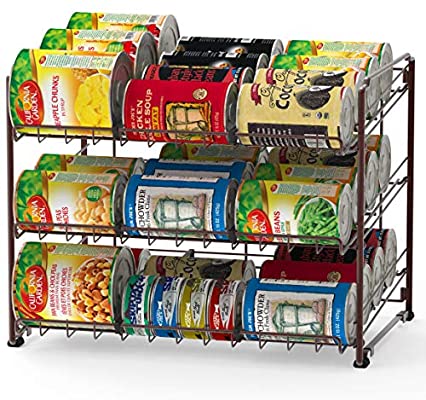
For Canned Goods Organization, I used a mix of Walmart’s Mainstays 3 Tier Can Organizer and Amazon’s Simple Houseware Stackable Can Rack Organizer.
For all the other bins you see, I simply covered boxes in contact paper. The contact paper I bought was from Walmart for around $10.00 however I can’t find it online. It is similar to this here though if you are interested in seeing what it looks like. That way I had easy access to things like snacks but could save on my budget where I could. Another great place to find it sometimes is at the dollar store.
And lastly – I found it helpful for my family to label everything. As I wanted the pantry to be as concise as possible and easy to navigate, labeling the covered containers helps us find things faster. These Amazon Basics Chalkboard Labels are my go to for all the labeling in my house.

All in all, I’m happy with how it turned out. Now, fingers crossed it stays this organized for a while.
This post may contain affiliate links and I may earn a small commission when you click on the links at no additional cost to you. As an affiliate, I earn from qualifying purchases. Thank you for supporting my small business and family.